Deployment Methods
One-Click Frontend Deployment Using Zeabur (Recommended)

Deployment Steps
- Click the "Deploy to Zeabur" button above
- If you don't have a Zeabur account yet, you need to register first. You need to spend $5 to activate the Developer plan. You can use WildCard virtual credit card or directly top up balance via Alipay.
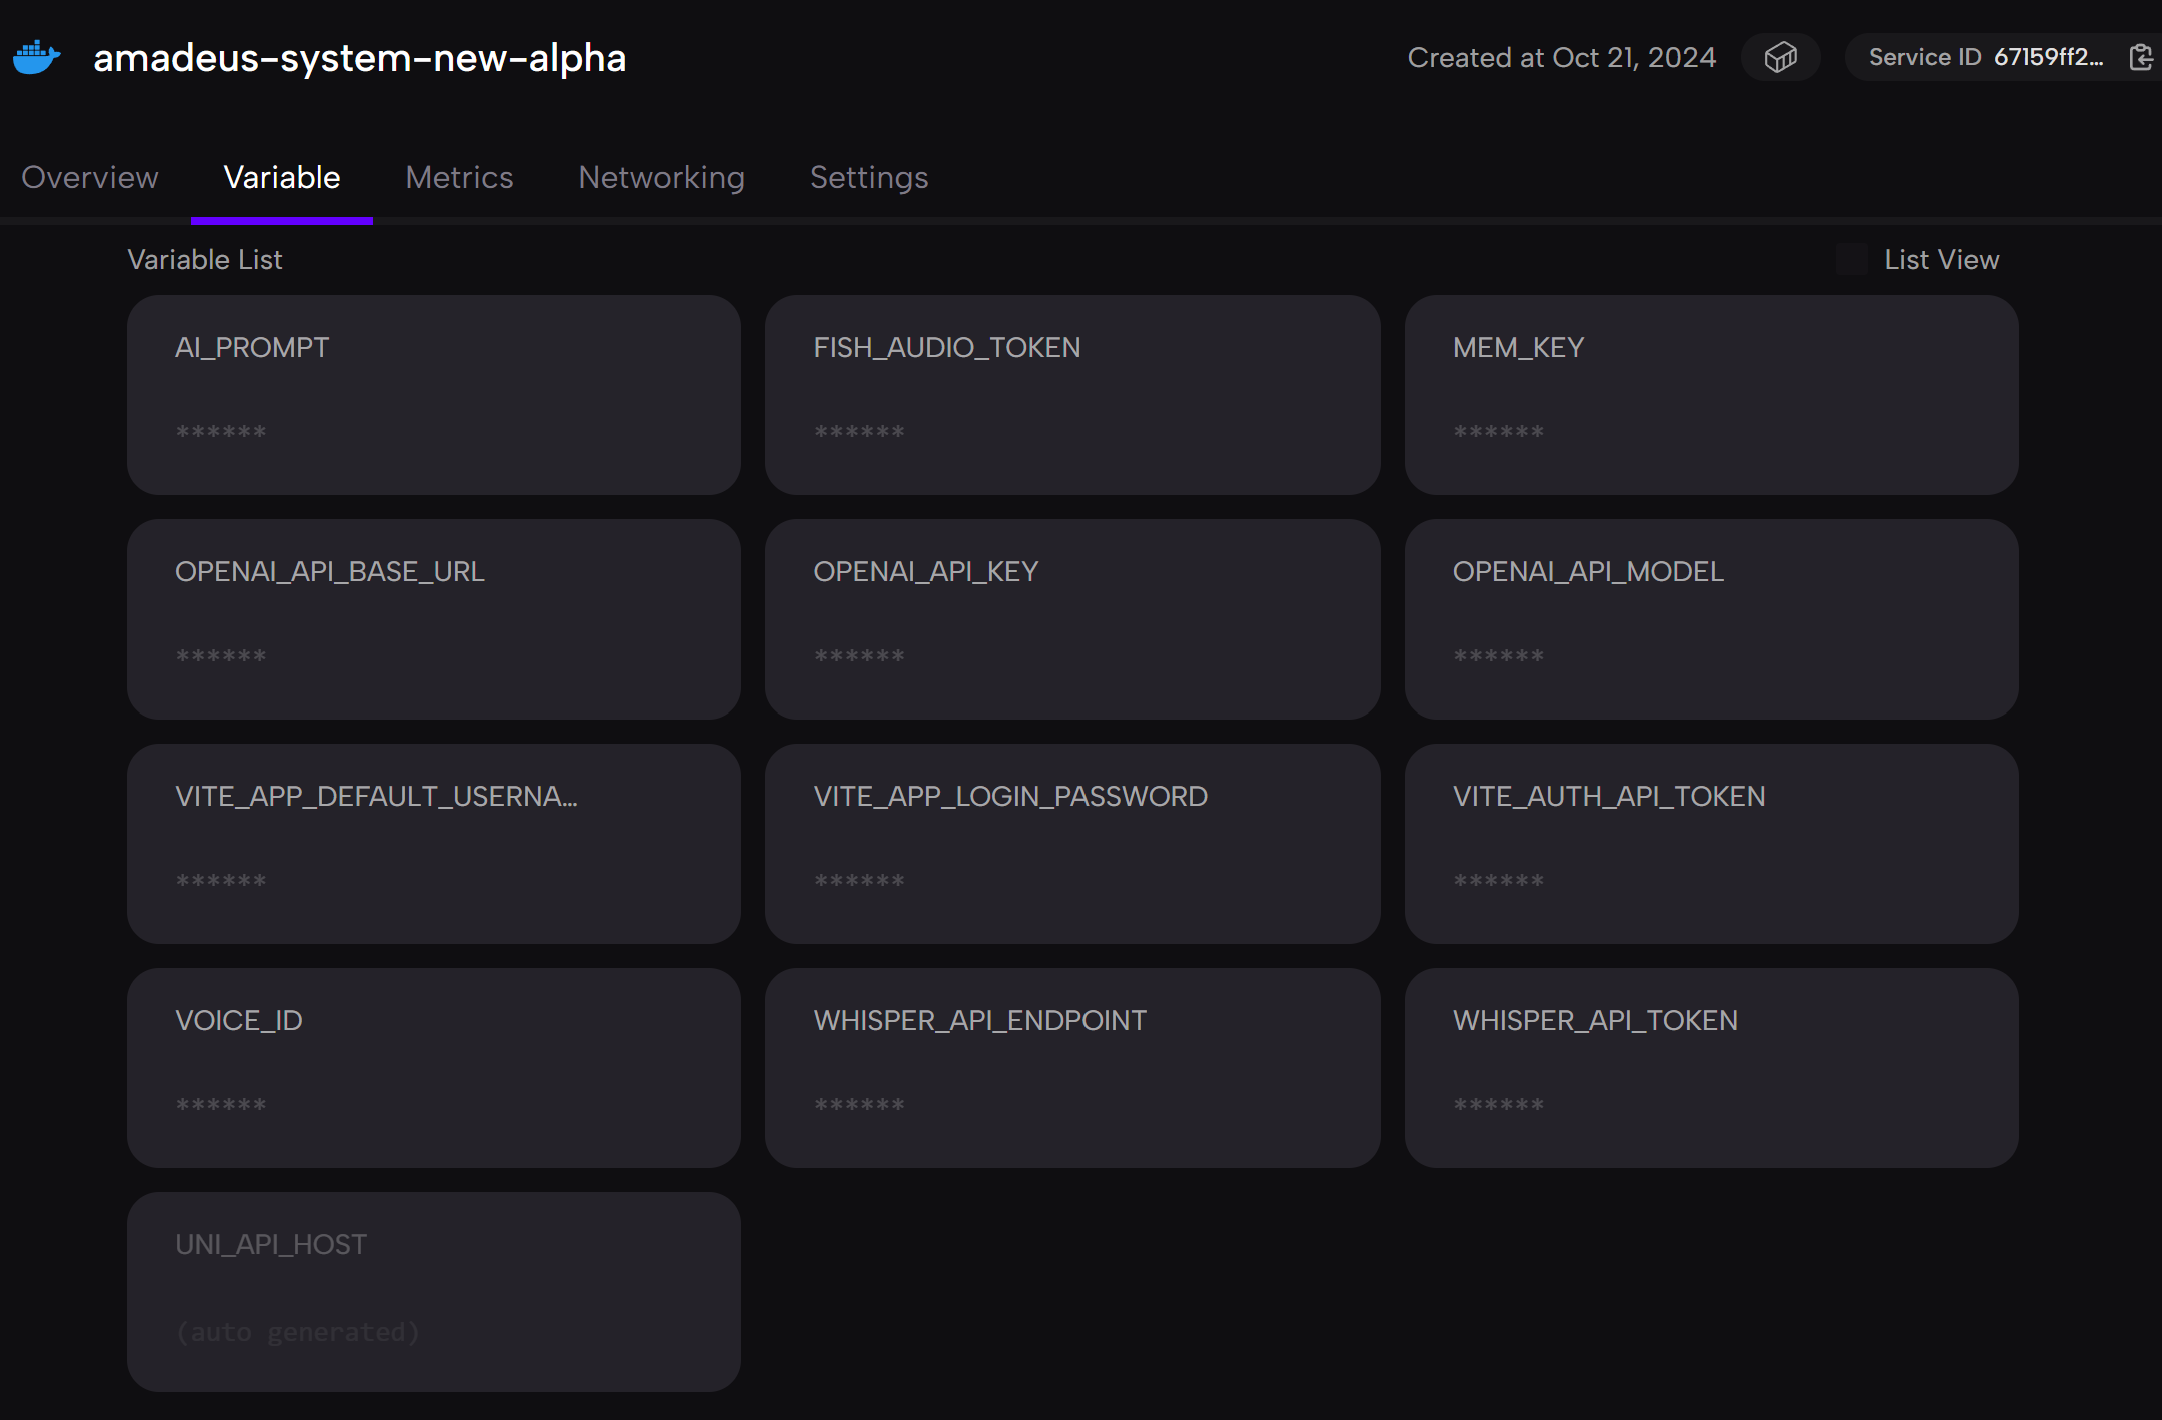
- Click the button above to deploy with one click to Hong Kong AWS region (note: users using Groq for ASR cannot deploy to Hong Kong, otherwise voice recognition won't work). Wait for deployment completion, then fill in environment variables as shown in the image below, and finally click Networking to generate a domain. You can then access your application through the domain provided by Zeabur.
Environment Variable Configuration
| Environment Variable | Description |
|---|---|
VITE_APP_DEFAULT_USERNAME | Username for frontend login system authentication, allowing Amadeus to identify you |
WEBRTC_API_URL | WebRTC service API forwarding address for establishing real-time audio-video communication |
Other AI Configurations
Other required AI configurations (such as LLM, TTS, ASR, etc.) have been moved to the frontend interface for filling. Users can flexibly configure them as needed after logging into the system. This approach is more flexible and avoids the trouble of resetting environment variables when redeploying.
- Ensure your project meets Zeabur's deployment requirements
- If you need a custom domain, you can set it up in the Zeabur control panel
- It's recommended to check Zeabur's official documentation for more deployment-related information
Frontend Deployment Using Docker Compose
If you want to deploy on your own server, you can use Docker Compose for deployment.
Preparation
- Ensure your server has Docker and Docker Compose installed
- Prepare basic environment variables (username, password, and WebRTC API address)
Docker Compose Configuration
Create a docker-compose.yml file with the following content:
version: '3'
services:
  container:
    image: ghcr.io/ai-poet/amadeus-system-new-alpha
    ports:
      - "3002:3002"  # Service port
    environment:
      - VITE_APP_DEFAULT_USERNAME=${VITE_APP_DEFAULT_USERNAME}
      - WEBRTC_API_URL=${WEBRTC_API_URL}
    restart: unless-stopped
    networks:
      - amadeus-network
    volumes:
      - ./logs:/app/service/logs  # Log persistent storage
networks:
  amadeus-network:
    driver: bridge
Deployment Steps
- Create environment variable file
.env:
VITE_APP_DEFAULT_USERNAME=your_username
WEBRTC_API_URL=your_webrtc_api_url- Start the service:
docker-compose up -d- Check service status:
docker-compose ps- Access the application via
http://your-server-ip:3002
Self-Deploying WebRTC Service
If you need to deploy your own WebRTC service, you can use the following methods:
TURN Server Deployment
For users who need to deploy their own TURN server, please refer to the FastRTC documentation or use cloud service providers' TURN server services.
Automatic TURN Server Deployment Using AWS
You can use AWS CloudFormation templates for quick deployment. Please refer to AWS official documentation for specific steps.
Reminder
After correctly configuring the TURN server, audio-video communication stability can be ensured even in complex network environments (such as symmetric NAT, behind corporate firewalls).
Production Environment Considerations
Security Configuration
- Use HTTPS for production deployment
- Configure appropriate firewall rules
- Regularly update system and dependencies
Performance Optimization
- Configure appropriate resource limits
- Use CDN to accelerate static resource loading
- Monitor system performance metrics
Backup and Recovery
- Regularly backup configuration files
- Implement log rotation policies
- Establish disaster recovery procedures